Bumble bee nails

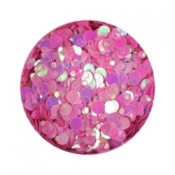
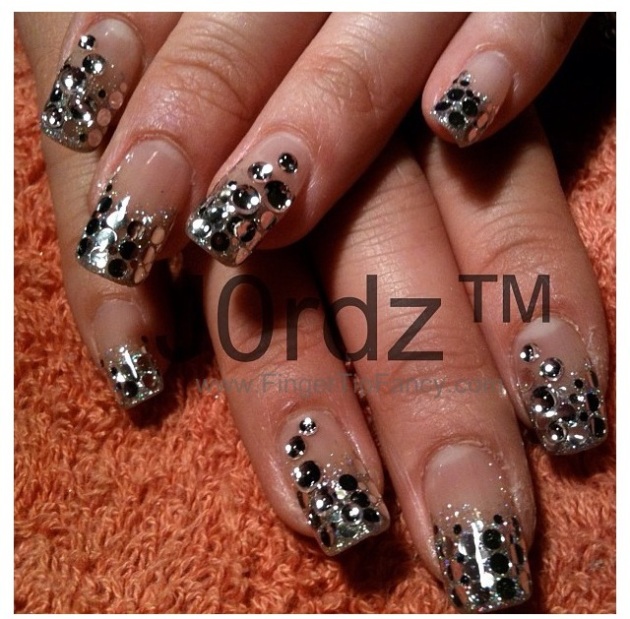
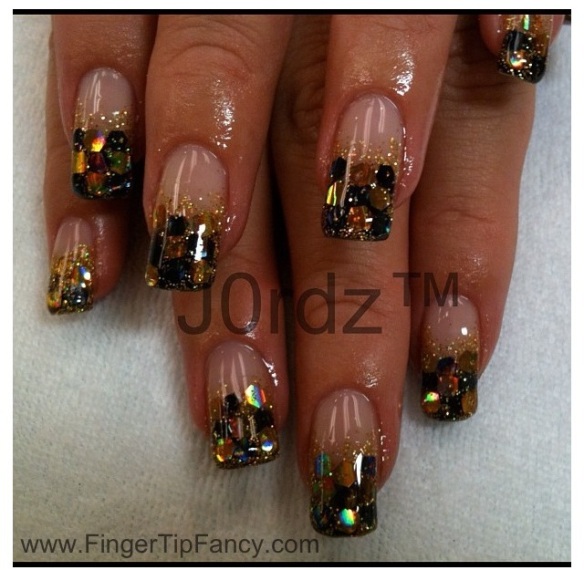
black-gold-holgram-nailsThis is a gel design and I would highly only doing this design with gel.

Reason–  these holograms that I used are bigger than the circular holograms. I usually use. And they are hexagon in shape; meaning the sides of these have more edges where as the circular ones have no edges,  these are bigger and have multiple edges which = easier to lift off the nail. Also for this design. These holograms are also along the edges of the tip of the nail. Regular tip coat is not going to cover these holograms completely.

If you would still like to try this design with polish or would like to know what products I used just leave a comment and I would be happy to reply. Thanks for stopping by
 

Baby shower nails

blue-pink-baby-shower-nails

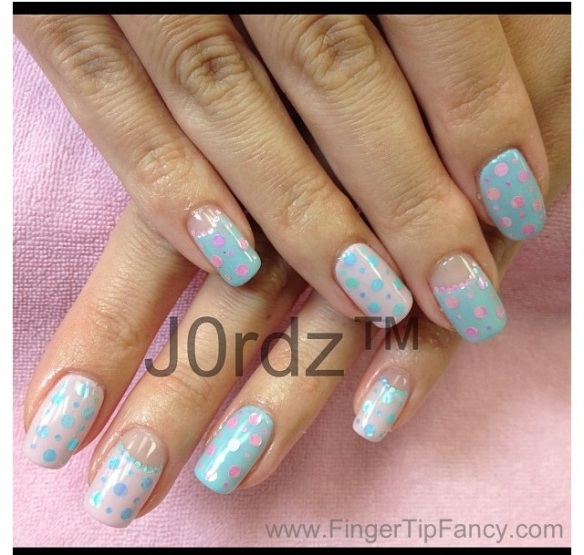
These nails always remind me of a babies shower for some reason. I think it’s the light pastel pink and blue. Traditional colors of new-born boys and girls. This design is about as straight forward as the picture.

  • You are going to need pastel pink and blue polish and pink and blue pastel holograms.
  • Just follow the picture making the pinky and middle finger both deep French with the polish of that nails color. The deep French do not need to be perfect due to the small holograms we are going to use to outline the deep French smile line.
  • I would suggest doing the second coat one nail at time so the holograms have a wet surface to stick to while you’re applying them individual as it holds to the nail better and is better imbedded into to the polish.
  • Apply the holograms big and small in a polka dot pattern on the nail. Remember try not to place to bigger holograms to close to the edge of the nail because that makes it easier to lift since the sides of your nail are more curved and the holograms are a flat surface.
  • Use alternating color holograms from the base color in each nail. Cover all with top coat. And your done.

Pink glitter slant nails

Image

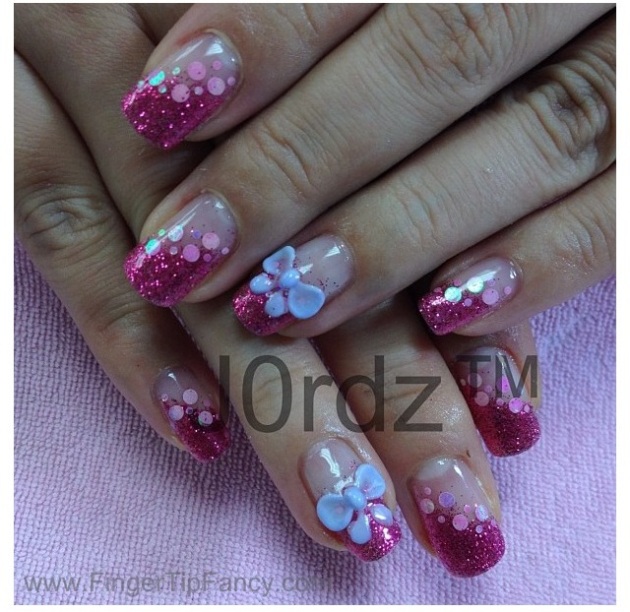
Pink all the way around with a accent of purple.  First of you are going to need a Pink glitter polish, and not just any.
APN-067
  • I highly recommend using a dense, one color glitter polish, not different size glitter, just one color glitter (when applying does not spread out).  As you can see in the picture, the bright pink color is applied at an angle.  (I haven’t found a name brand product of dense glitter that i like of this color)
  • After you made the sideways french, use a base clear coat to apply the pink hologram ( the medium and big size dots in this picture)  Prunelle APN-067
Apply in the area of the line kind of in an every other pattern. (meaning big hologram, small hologram in the line direction: area of the line where the glitter and clear are.)
Cover all with top coat.  The Ring fingers are bows i made out of acrylic.  They are not pre made, I made them on the nail with acrylic monomer and polymer.

black white gold nails

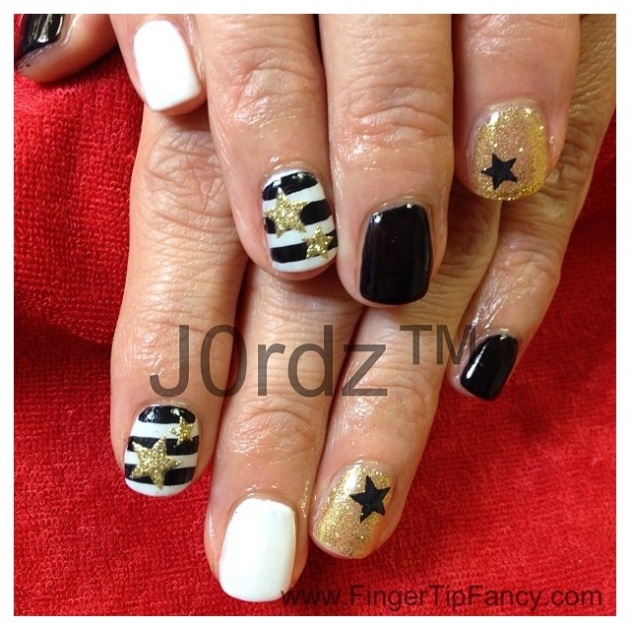
ImageWho says short nails can’t be fun!!! Just because you have short nails doesn’t mean designs are limited. This is a perfect example.  The colors for this design are black. White. and gold. With one main accent nail.

star-stickers

  • For the strip nail I would suggest doing the base first in white. You always want to do the lighter color for the base, since its harder to cover a darker color with a lighter color.  You only need to do one coat of the white, but make sure it’s not a sheer coat or a sheer white.  You only need to do one coat of the white since half the nail is going to be cover in black.
  • Next use your nail art black brush to crest the horizontal black lines.
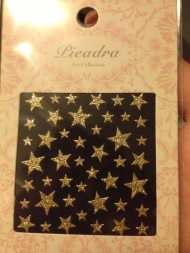
  • Lastly. Apply the star stickers on to all the nails with any color that is not the initial polish color for the specific nail. Cover all with top coat and your done!!!

alpine-snow-by-OPIopi-black-onyx-nail-polishPolish Black-OPI-black Onyx

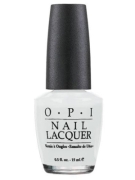
White-OPI- Alpine Snow

Gold-china glaze- blonde bombshell

Now go try it out and let’s see how it looks

Rhinestone White faded nails

Image

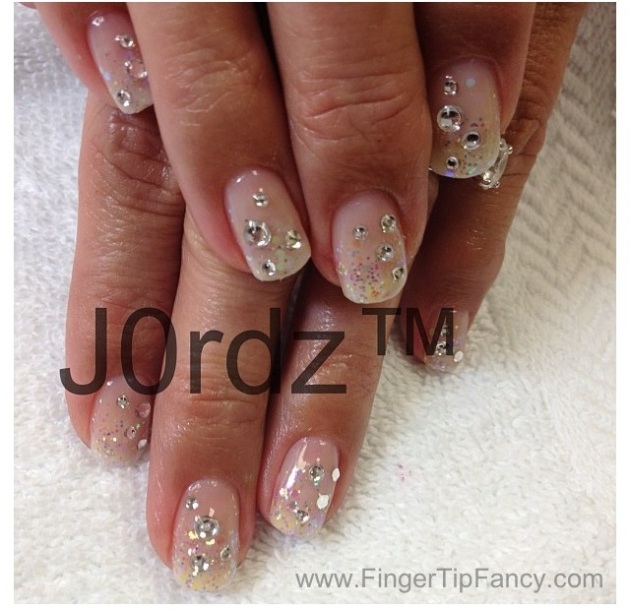
  • Apply an off white color at the tips. I would only recommend one coat if your going for the same look as this picture.
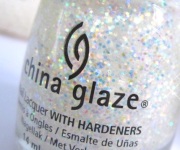
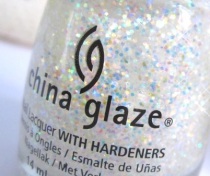
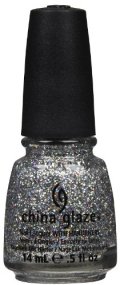
  • Cover the tips with China Glaze-Snow globe to the middle of the nail. snowglobe
  • Then apply Swarovski rhinestone at random on all the nails. Swarovski clear sizes ss7, ss9, ss12, ss16 (only a few of the ss16, since they are so big, they are easier to come off)
  • Cover all with top coat and your done!!!

Other post including China glaze snow globe

Light Pink fade to clear

Aside

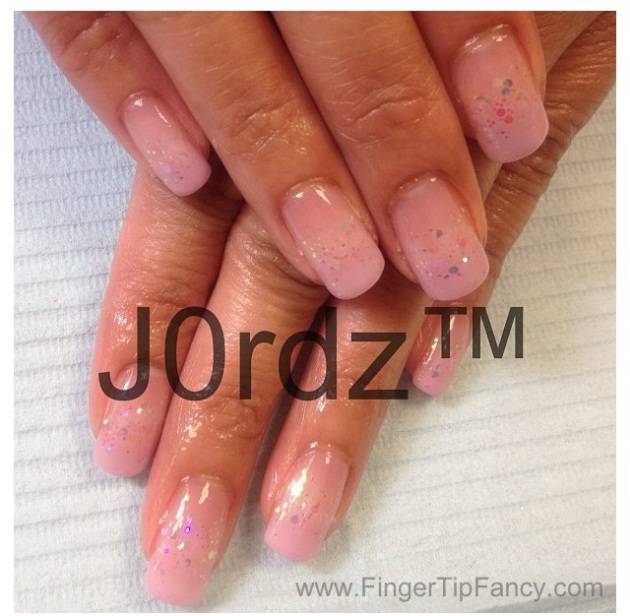
ImageI’d thought I share with you girls a gel design that is easily replicated with polish.  This way of doing a faded tip to clear is very straight forward and easy accommodating to mostly any color, as long as it’s not to dark.

snowglobeStart with your polish color of your choice.  Apply at the tip of the nails; as you progress to the area where you want it to fade.  Use lighter, gentler strokes in the faded area to get a less dense color.  to get less pigment of the color.  If the fade isn’t the way you want it to look, (either to many strikes and/or it looks messy)  that’s where the glitter comes in.  Clear transparent glitter polish always helps to cover up the strikes and uneven areas.  Apply China glaze Snow globe to the nail where the polish color is fading to clear.  Cover all with top coat for a shine and there you go.  This gel design with polish.  Enjoy
other designs where I used China glaze – snow globe (again, a necessary polish to get; useful for many designs)

Silver Hologram Ombre Nails

Image

Isn’t this design so pretty!!!! and noticeable!!!  Everyone who does this absolutely loves it!!!  Its the same concept as one of my previous post Bling Out Purple.  Or Pastel Blue and Green (but only using one hologram color for this design)

ImageProducts I recommend- China Glaze-Nova

ERI-48

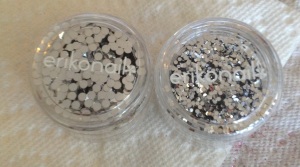
ErikoNail holograms -Silver bing and small ERI-48

Follow the same instructions.  Glitter polish at the tips of the nail faded down the nail for the Ombre effect.  I recommend doing one finger at a time, that way when applying the holograms on top of the nail, the glitter polish is still sticky so the holograms have a better surface to stick too and hold to the glitter polish better.  Place the silver holograms on individually and close together to get more of theImage bling look.  Cover all with top coat (2x to better seal the holograms since they are so big and close together)

In the picture I added Swarovski rhinestone to the pointer and ring finger.  Its up to you if you want to add but i would say no need.  It’s quite flashy without it too.

Other post I used same holograms in – Light Purple Ombre  and Gold, Silver, Blue

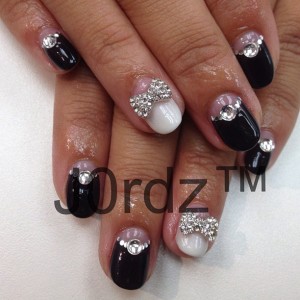
Positive and Negative nails

black-White-nails

Another simple nail art that is so fast and easy.

Black deep french on all the nails except for the ring (and even though you can’t see it in this picture, I made the thumb white too)

Add a big rhinestone (in the pic size ss16).   used small holograms for the smile line but you can just use a silver art polish brush.  Add bow charm on ring fingers in the middle of the deep french smile line.  

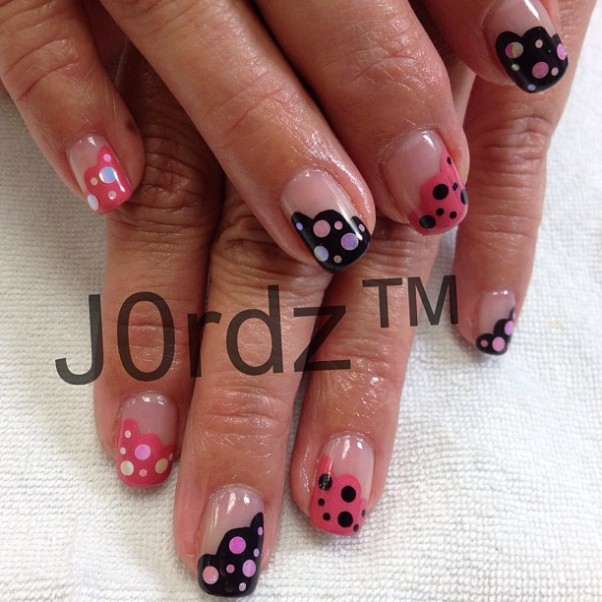
Black Pink Curve design nails

Image

I have no clue what to call this design.  But people love it!  First, do the out line of the base curve.  The black with the nail art polish brush, then fill in the black on the upper part of the nail.  Then do the same thing with the pink.  If you don’t have nail art brush or dont’t like the color then you can do the pink with a regular nail polish brush.  Since the pink is lighter than the black, and isn’t as obvious as black it doesn’t need to be as perfect.  Then use a clear base coat to make the surface sticky to apply and paste the holograms on top.  If you dont have hologram colors and want to do dots, then use the dotting tool, any size dots, as long as you like it.
 
LET’S see how yours turns out

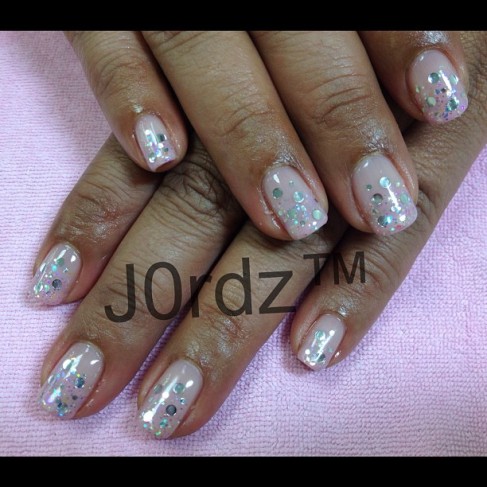
Light Purple Ombre

Image

This base color is like a nudish/ light purple. 
Image
china glaze- light as air is the color!!!
and i would only use one coat of ths, at the tips of the nail.  Then just go over the “light as air” with snow globe-china glaze.  I use snow globe a lot in my other post as it is a basic necessity (because it’s clear medium size glitter)  Then just add the silver holograms (big and small) randomly throughout the nails.  Basic and simple, and fast!!!
 
Let’s see your variations of this simple design.